Hi guys, welcome to blog number 2 on “Make Room for Mushrooms” project. In the first instalment I explored my research into fungi and the process I took in order to try and grow outdoor mushrooms in a raised bed located in BCGT. They will fruit in the spring.
In this blog I will go through the process of growing oyster mushrooms in buckets. Sounds crazy I know, but it works and can be done! We used buckets that had been given to us from an operating restaurant in the Inverclyde area, a substrate for the mycelium to feed off of and break down (in this case we used saw dust) and grey oyster grain spawn. Spawn is basically mushroom spores that have begun to develop fungal growth.
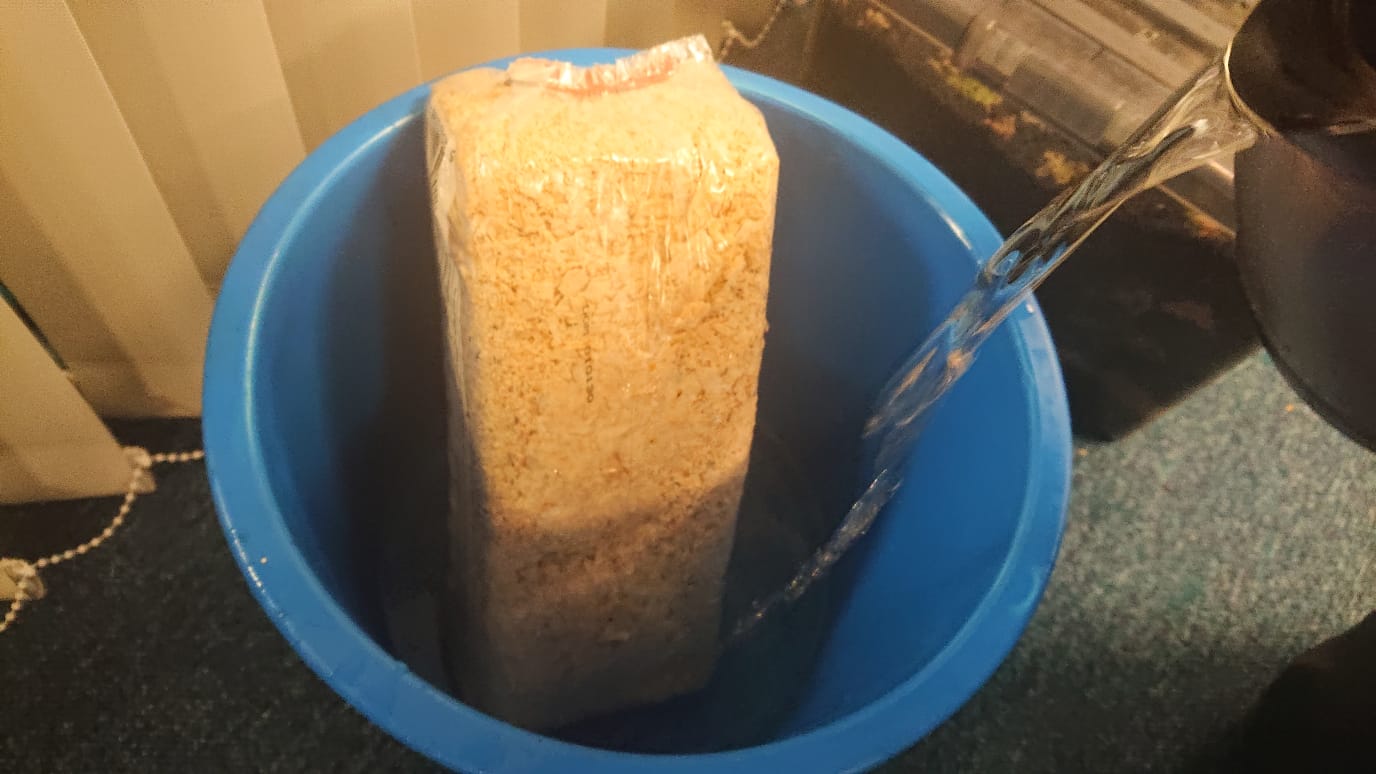
Step 1 – Pasteurisation – I soaked a pack of sawdust purchased from a local pound shop in freshly boiled water. I left it in the packaging, but I put holes in it so the water could get into the sawdust. This process of soaking a material in boiling water is called pasteurisation. This is a process used to kill any potential mushroom spawn or bacteria that may have existed within the substrate prior to the experiment. Think of it like a cleaning process. One which gives us the ability not to eliminate but minimise the chance of bacteria effecting the growth of the mycelium. It also minimises the chance of a secondary undesired fungi that may try to compete or steal nutriance from the substrate.
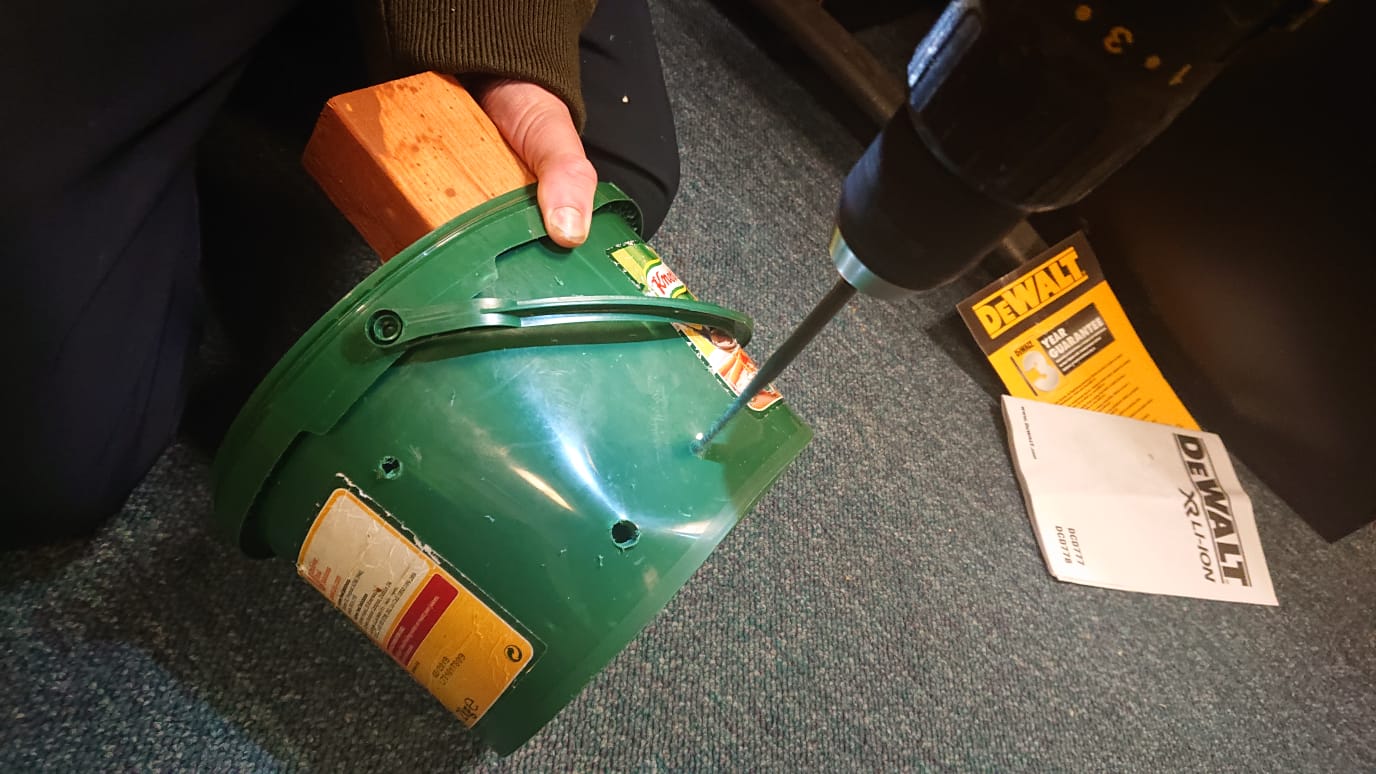
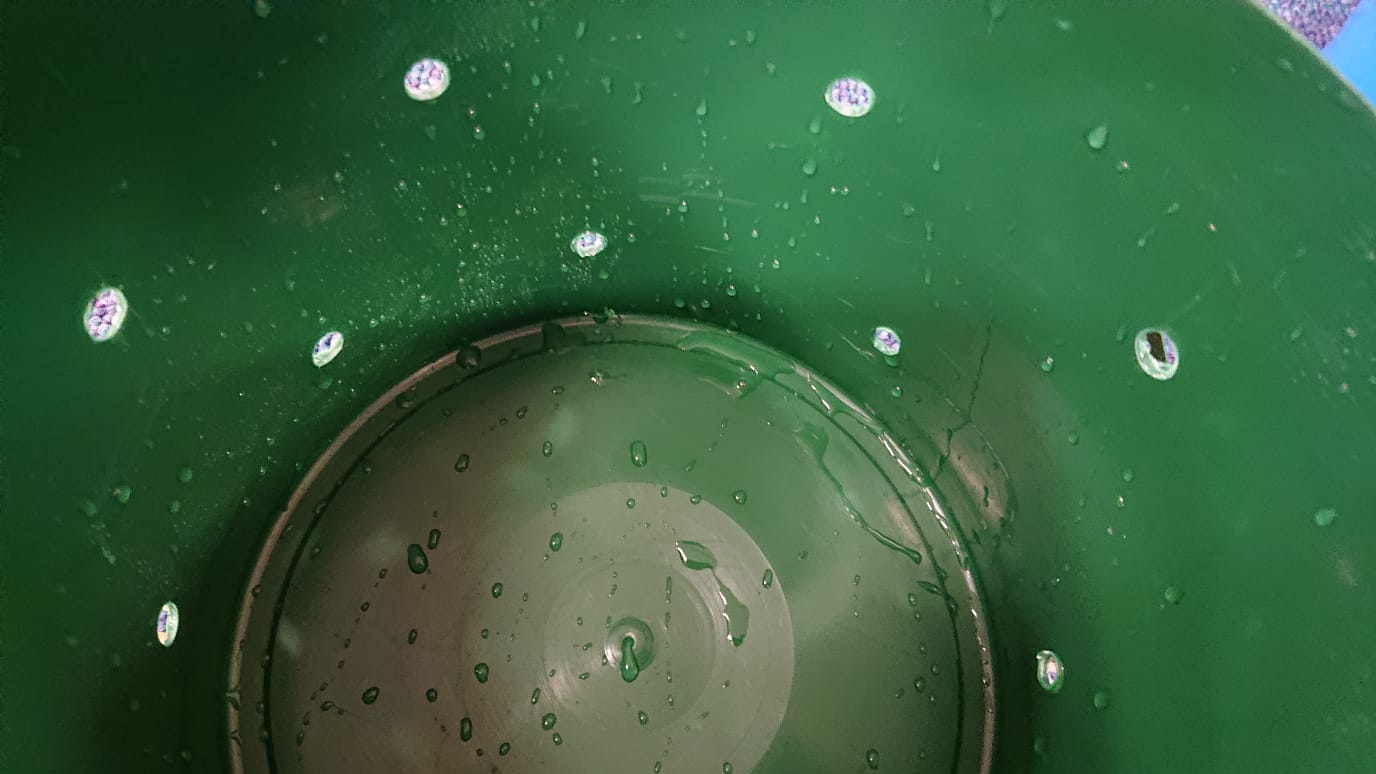
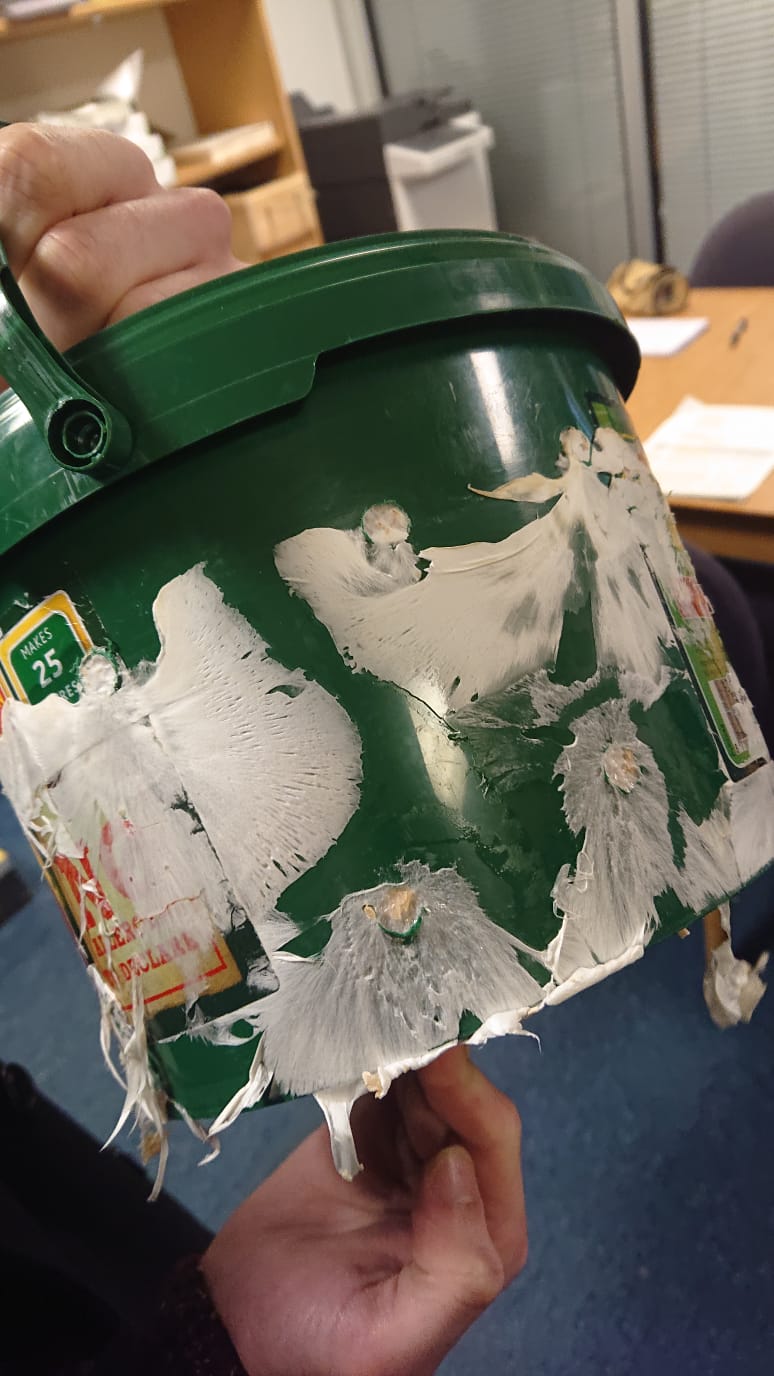
Step 2 – Preparing the buckets – Using a piece of wood for support, and an electric drill, I drilled holes in the bucket. It is from these holes that the mycelium will fruit; from here you can see the inside of the bucket with holes drilled in.
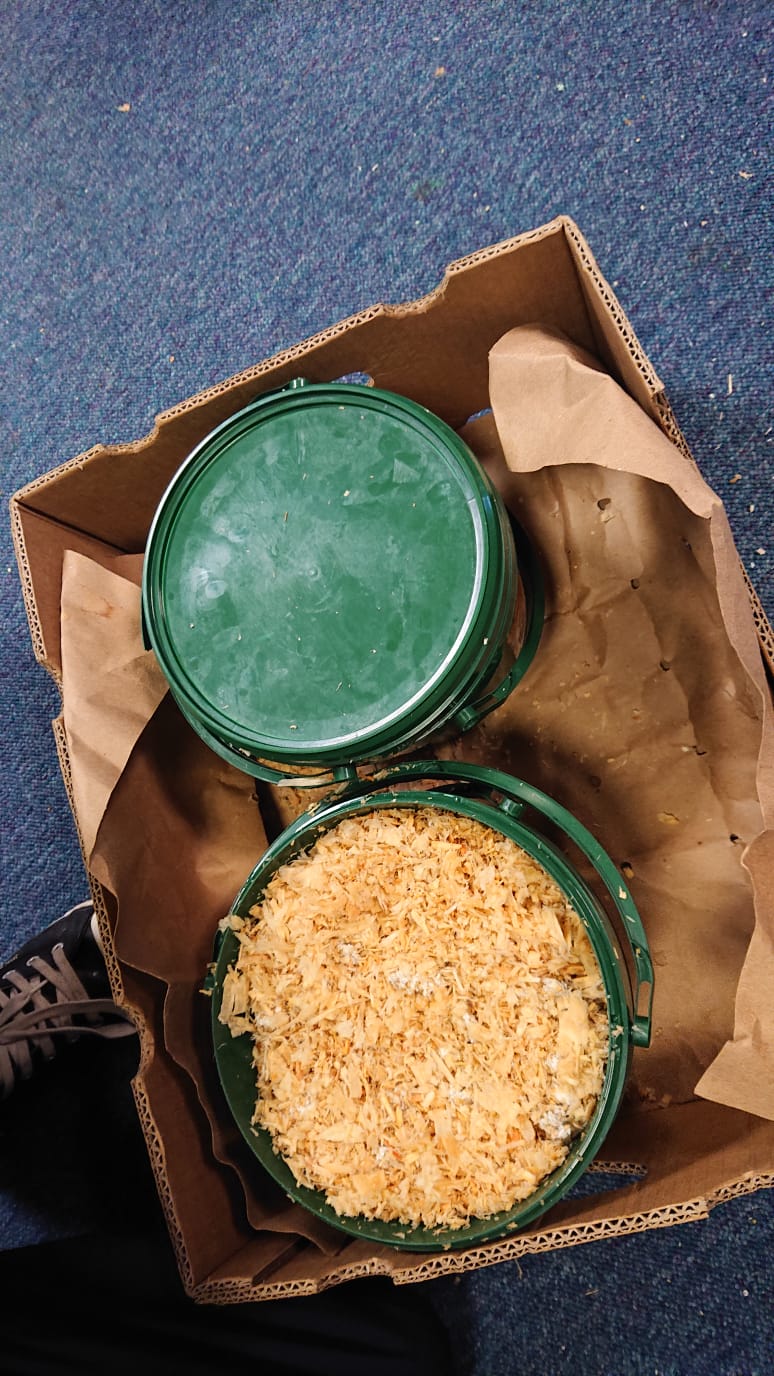
Step 3 – Placing the substrate – Next, I removed the pasteurised substrate (the saw dust) from its packaging and placed it into two of the four buckets that we sourced from the restaurant.
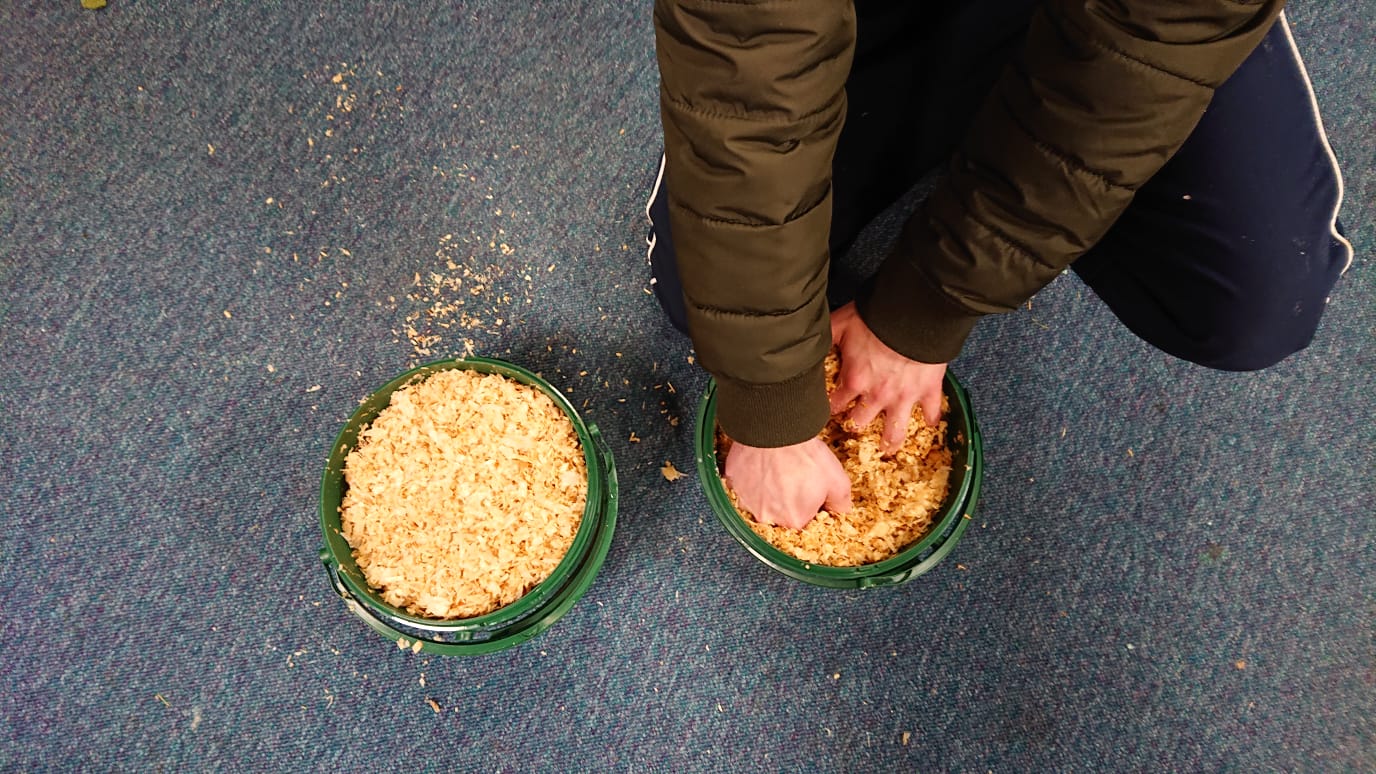
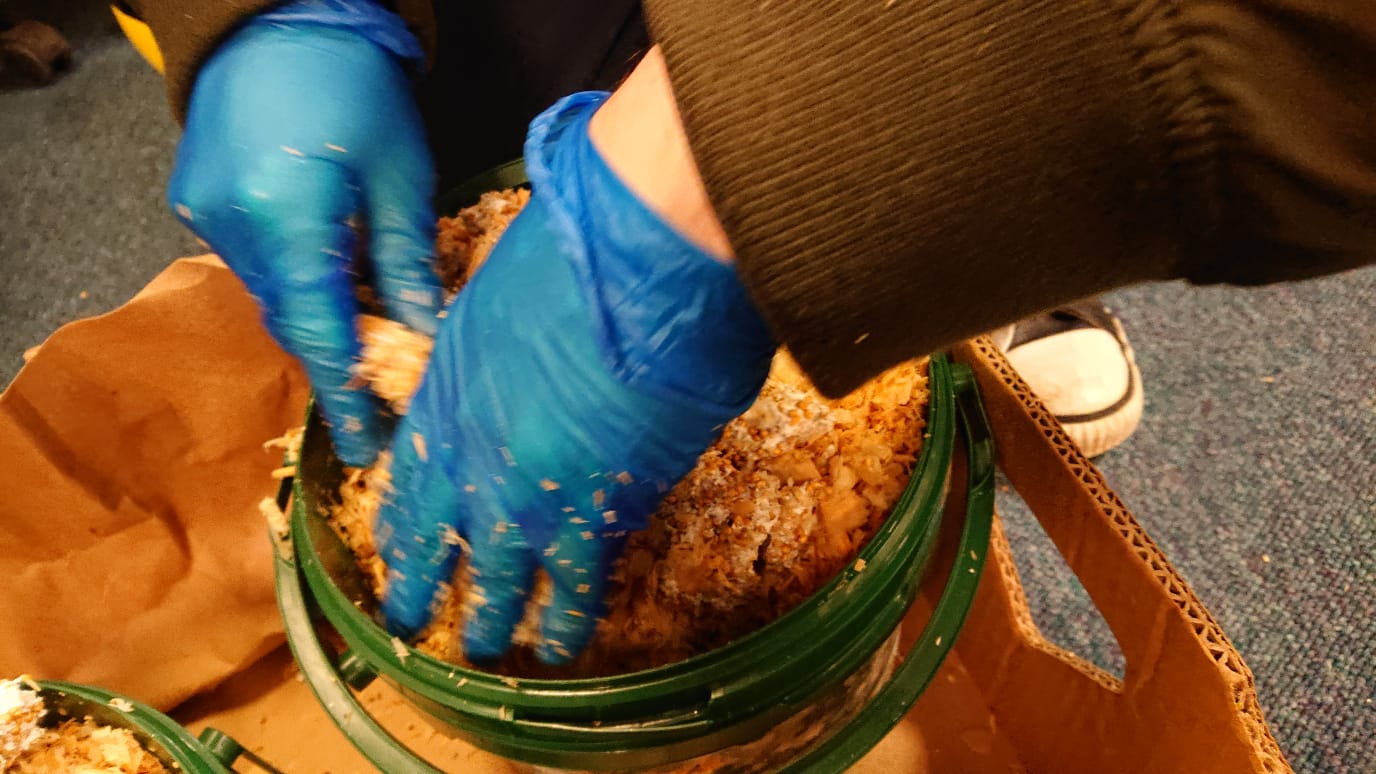
Step 4 – Laying the mushroom spawn – Next, I placed the mushroom spawn on top of the substrate.
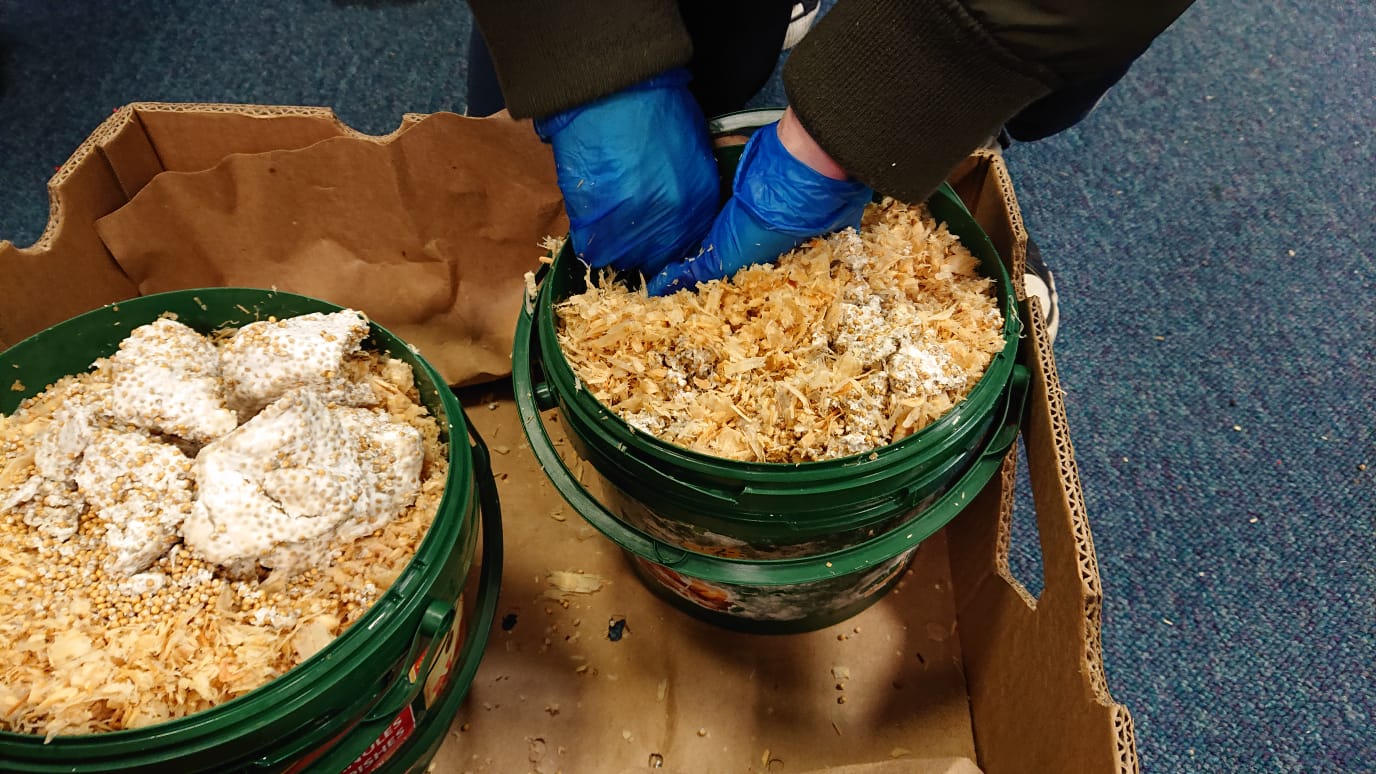
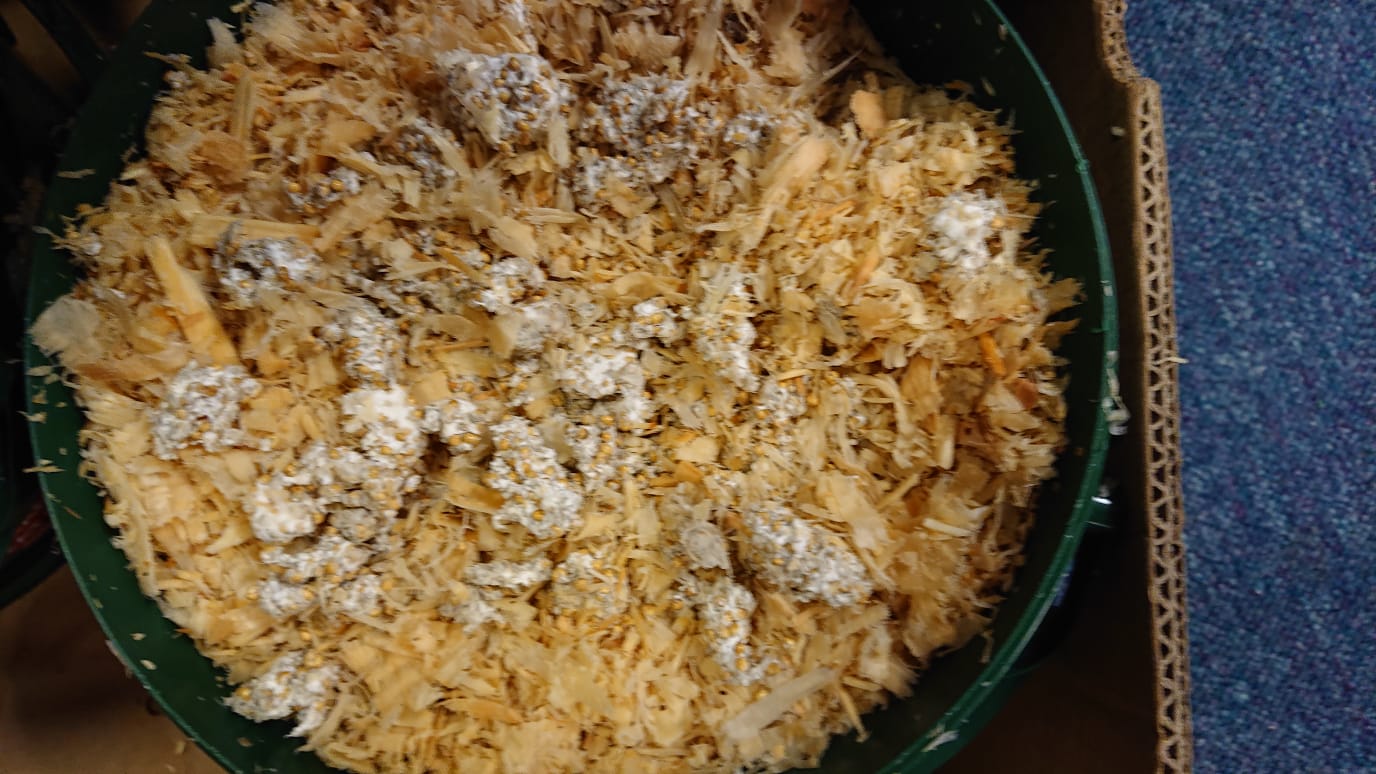
Step 5 – Insulation – I reserved a small amount of substrate from the pack and placed it on top of the mushroom spawn. As stated in the title, I chose to do this in order to provide some extra insulation as the optimum temperature to grow oyster mushrooms is around 18 – 20 degrees Celsius.
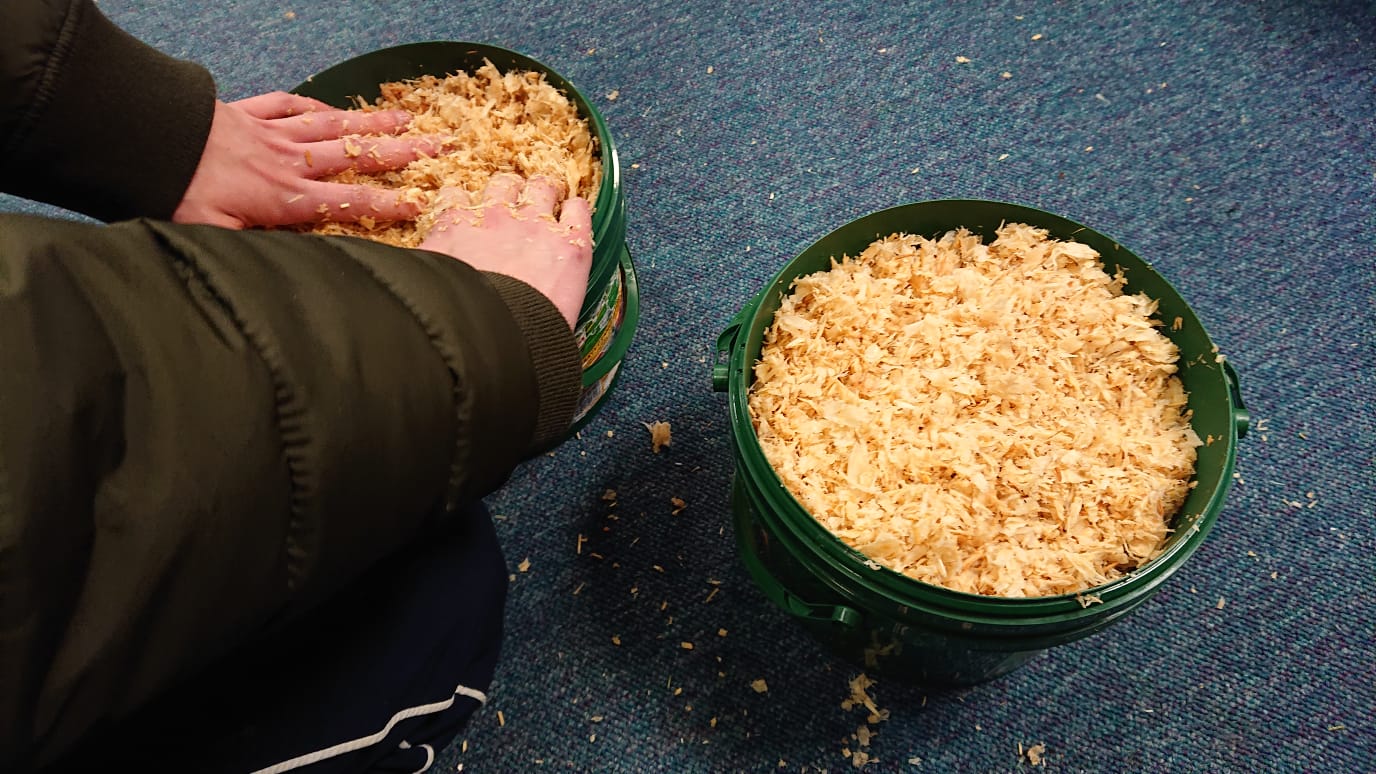
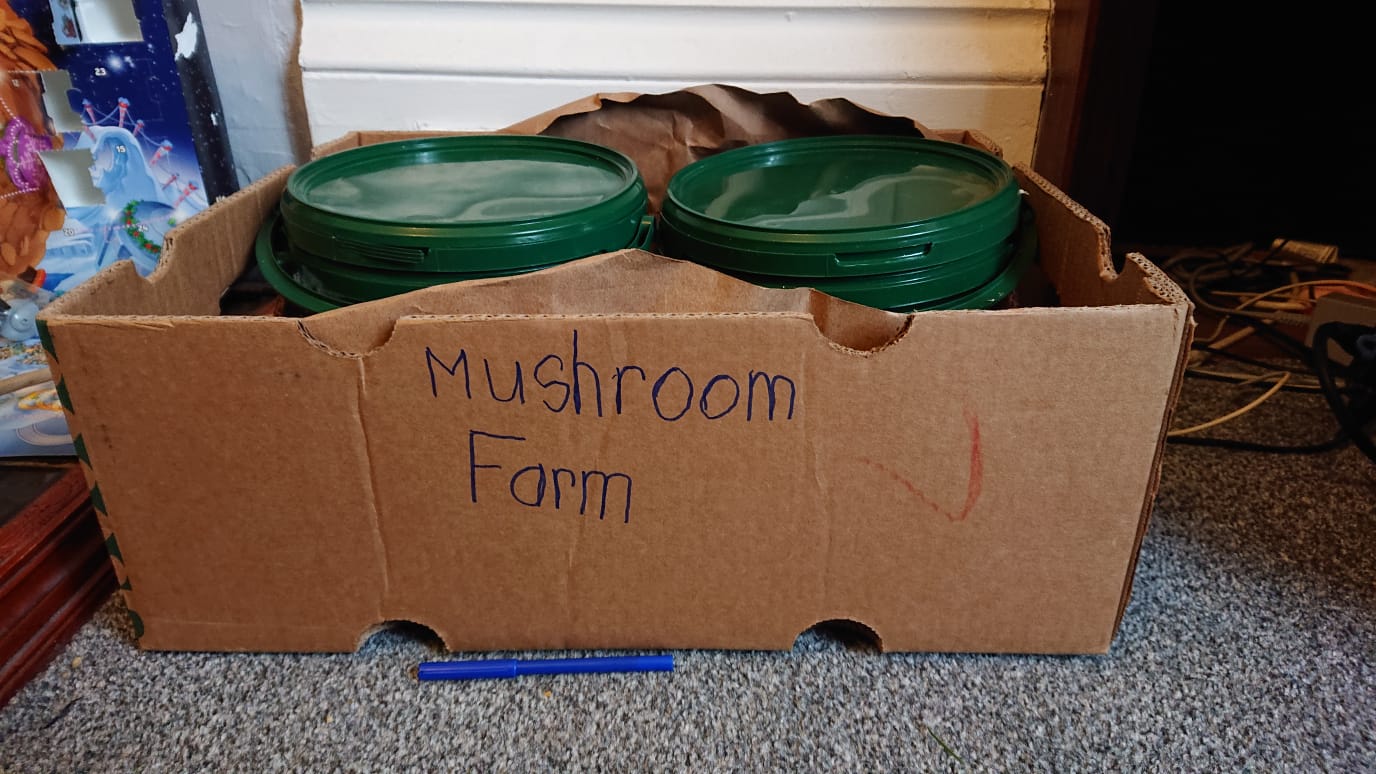
Step 6 – Final assembly – I put the lids on two of the buckets, then slotted these into two other buckets. As well as providing another level of insulation, it also blocks out oxygen, thus creating anaerobic conditions, as well as eliminating light.
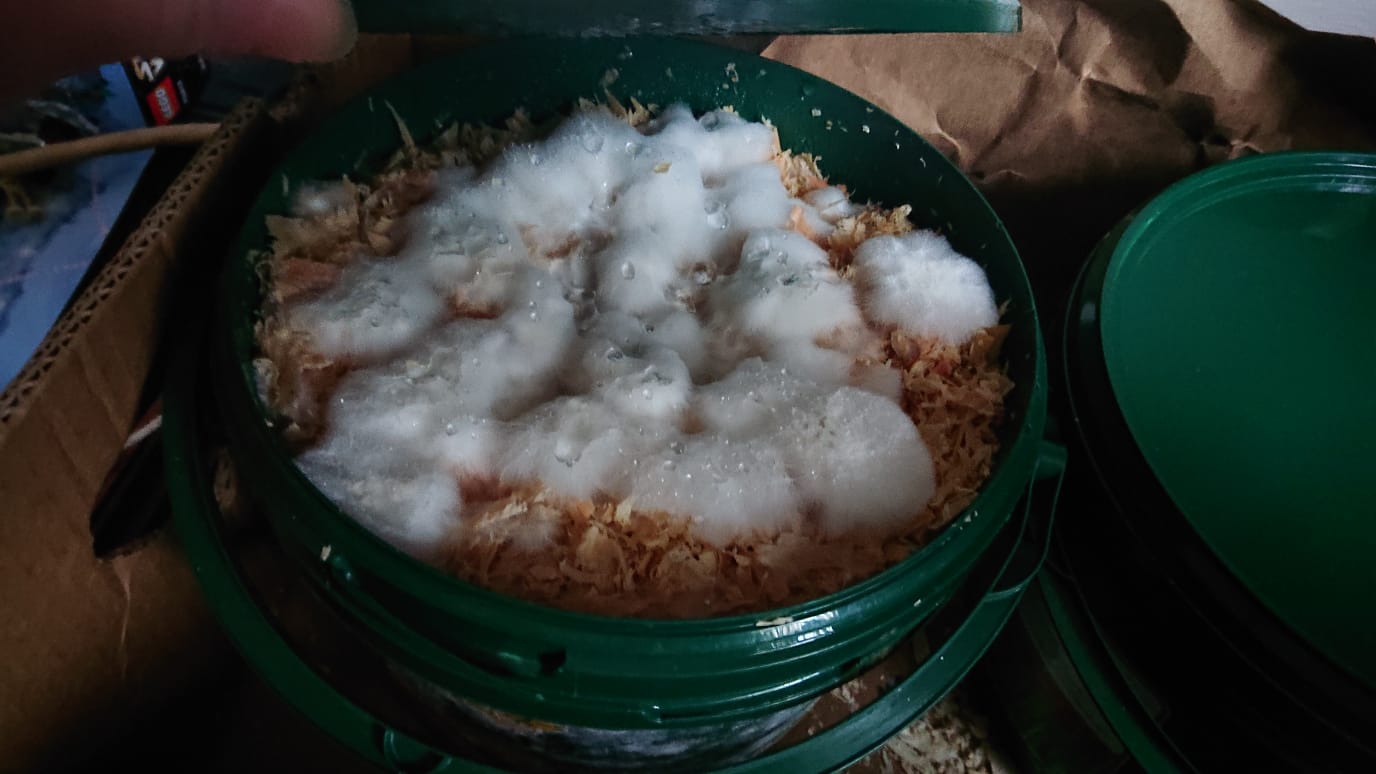
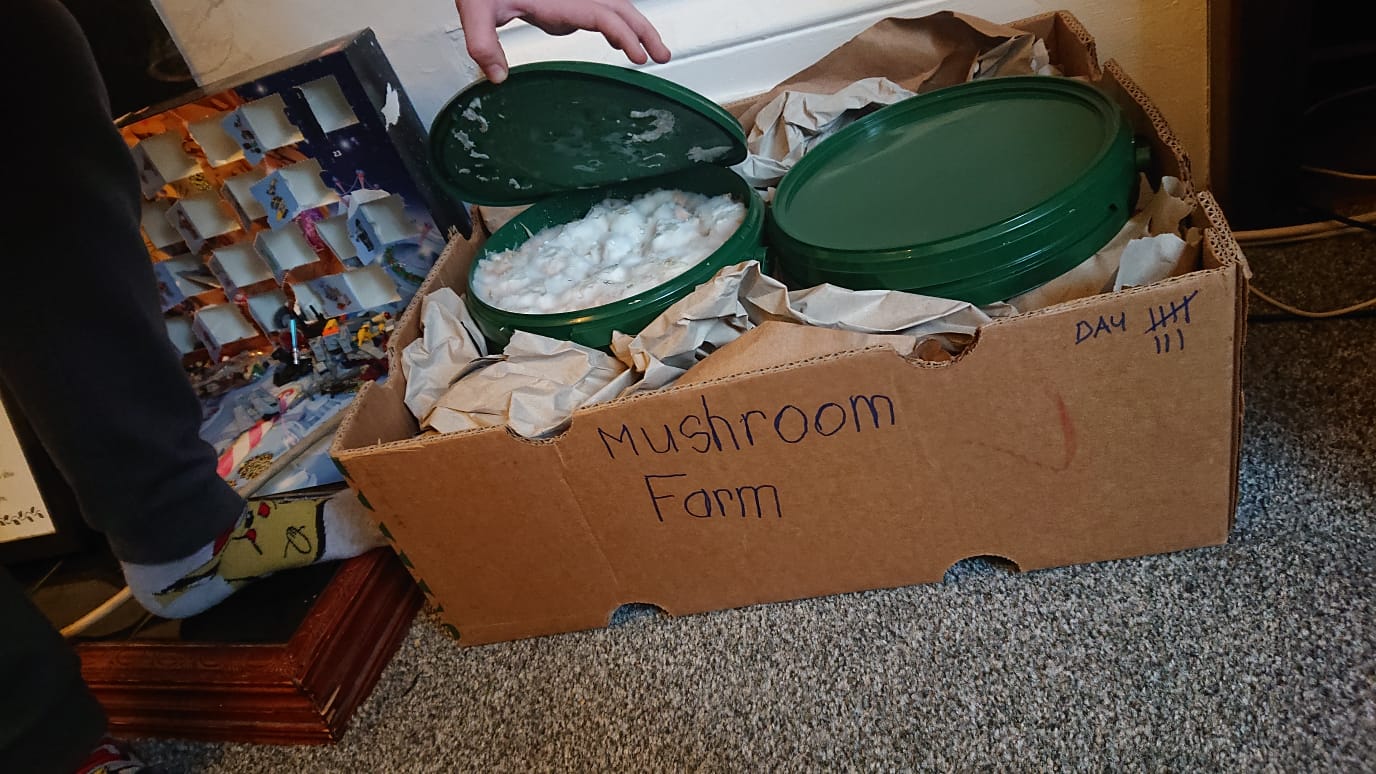
Step 7 – Monstering the progress – Here you can see the “mushroom farm”. This had to be kept in a house, as Belville is a little cold for most species of mushroom to thrive. Here are some pictures over the course of around two weeks showing the development of the fugue.
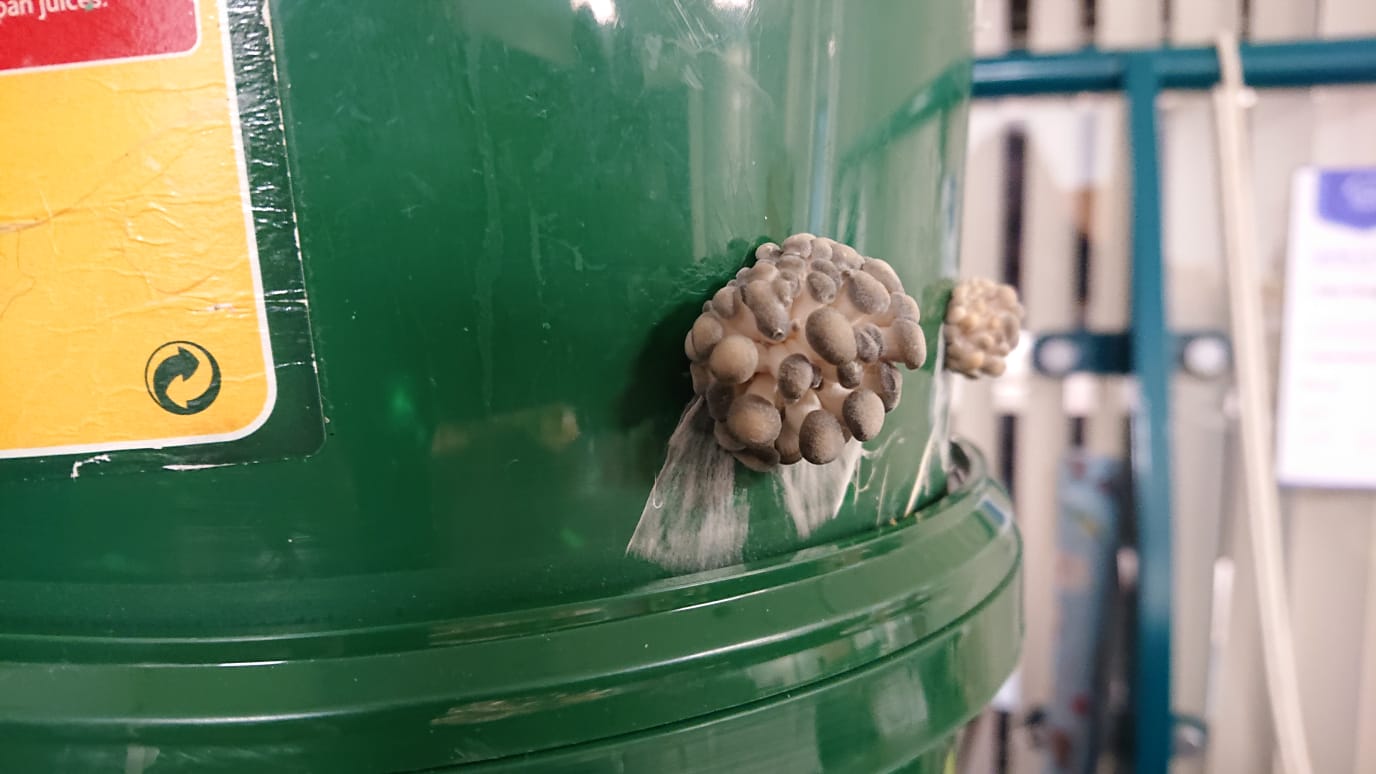
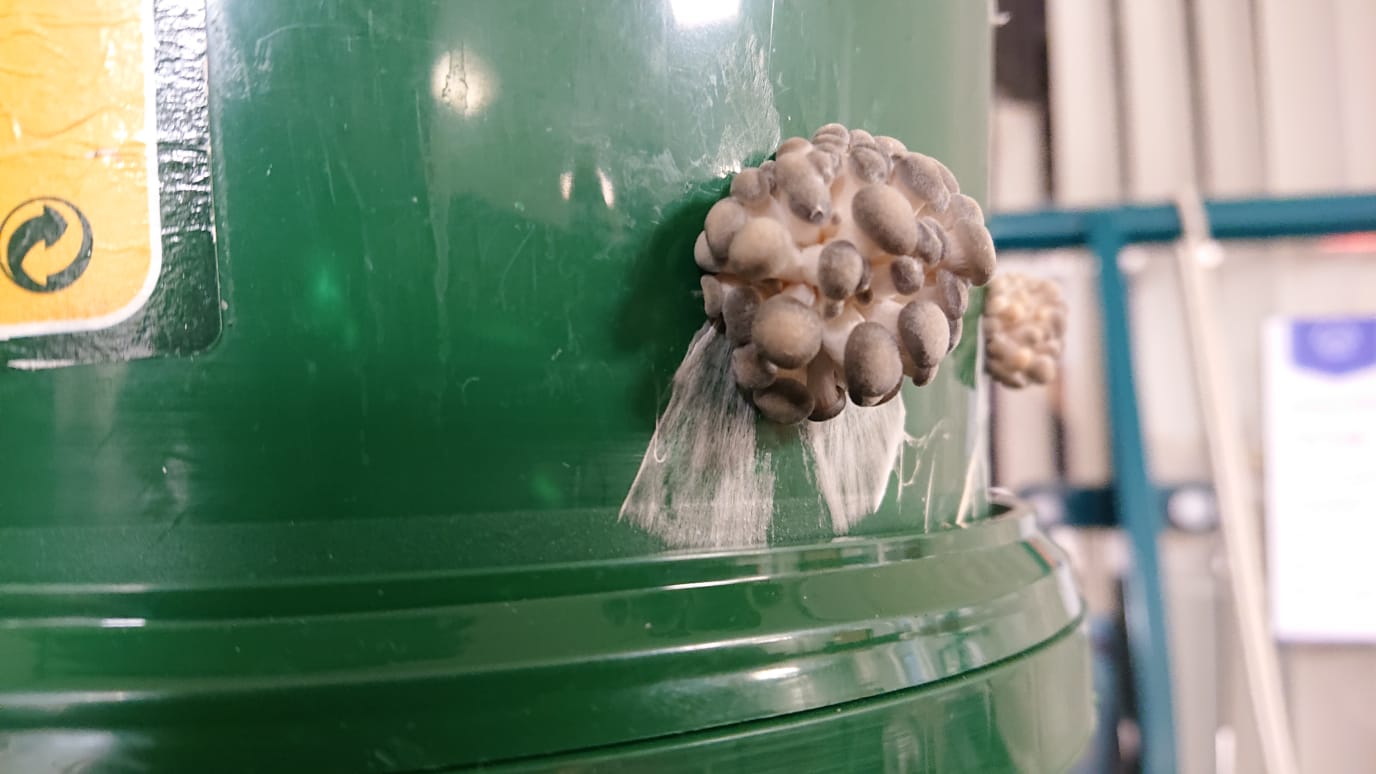
Step 8 – The fruiting process – Here you can see the mycelium starting to fruit from the holes out the side of the bucket (we removed the outer bucket at this stage). Here are some pictures showing what the fruiting process looks like in this scenario under these conditions.
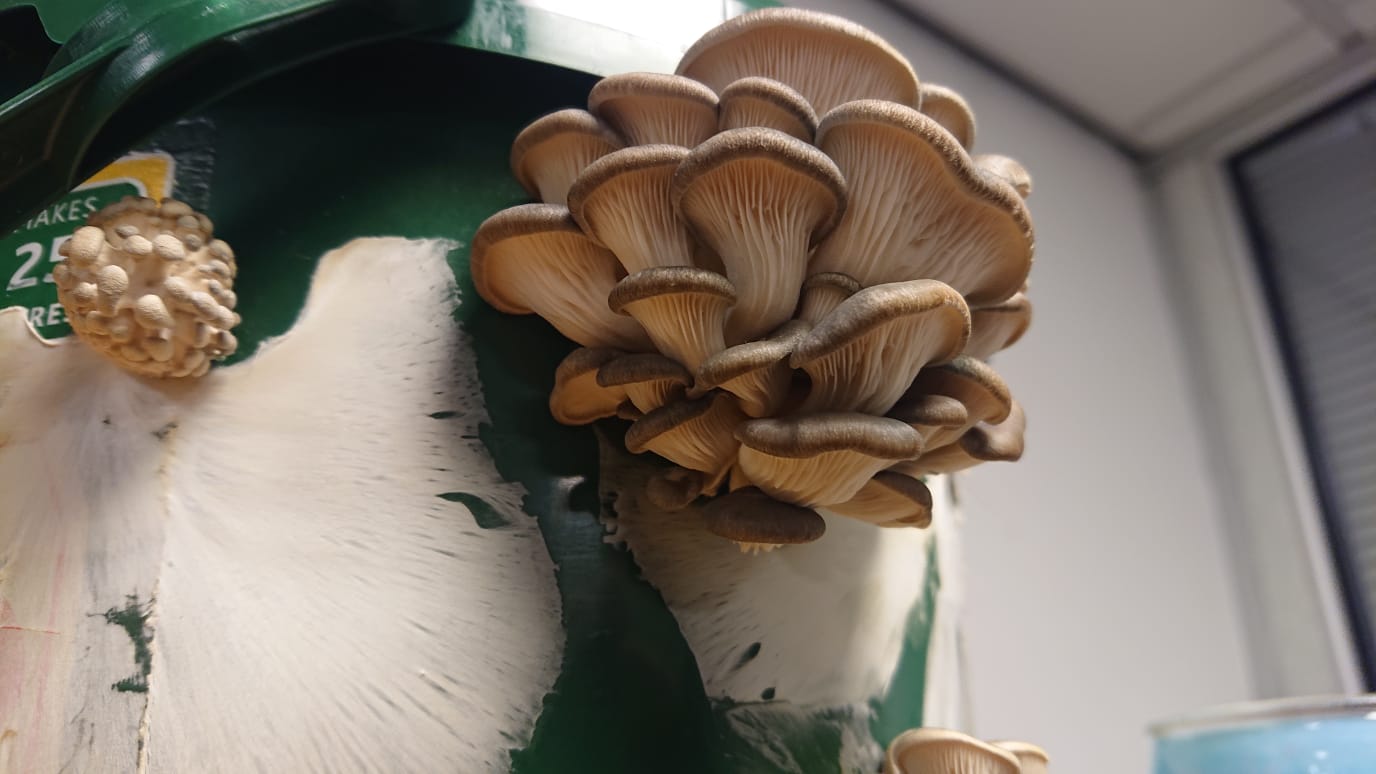
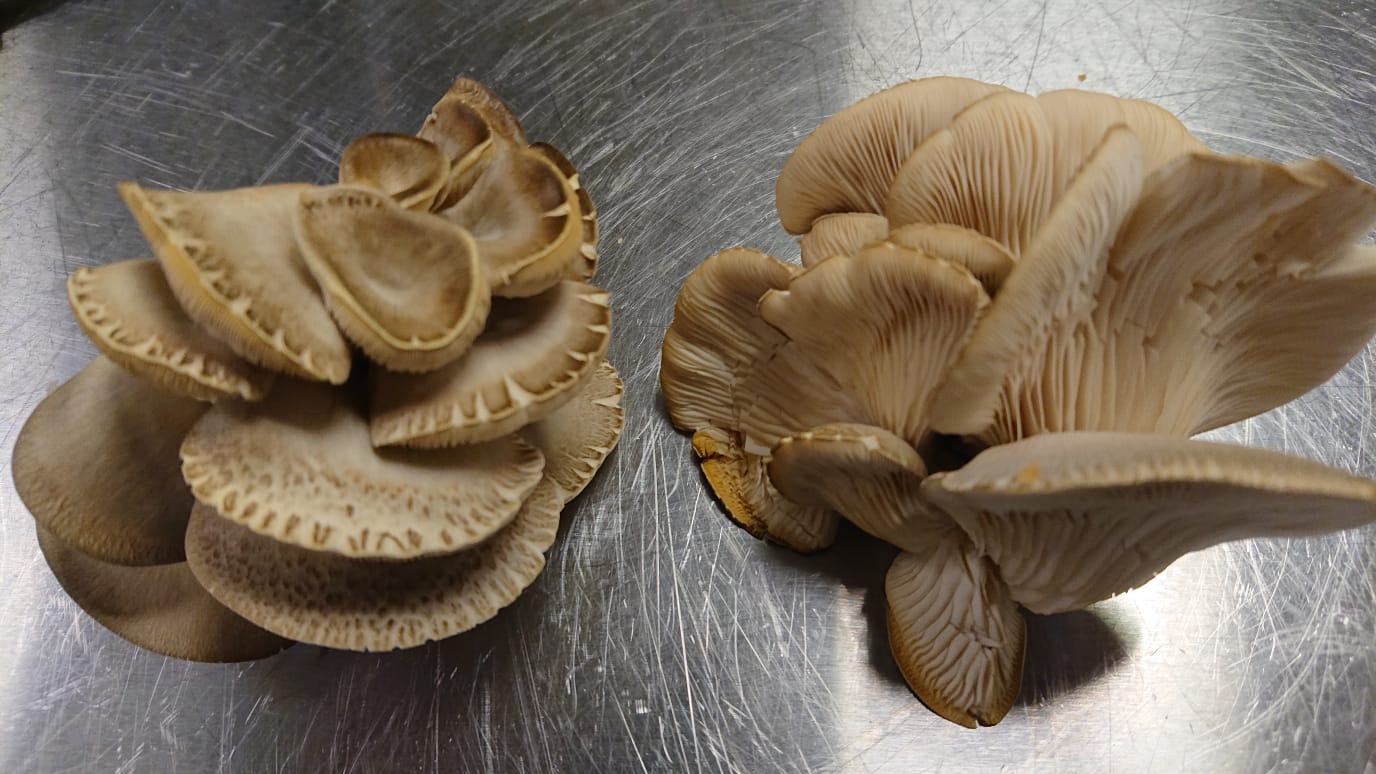
Step 9 – Harvesting and observations – Here you can see some pics of what the mushrooms look like once detached from the bucket.
Final thoughts and next steps –
I was very happy with the results, and the mushrooms were very tasty. The only negative I would say is that I was expecting 3 yields from the mushroom buckets, however, the second yield was very dry and unusable, and the 3rd and final yield was even dryer. Stay tuned for the next blog where we will examine the progress of the outdoor mushroom bed located in Belville Community Garden.